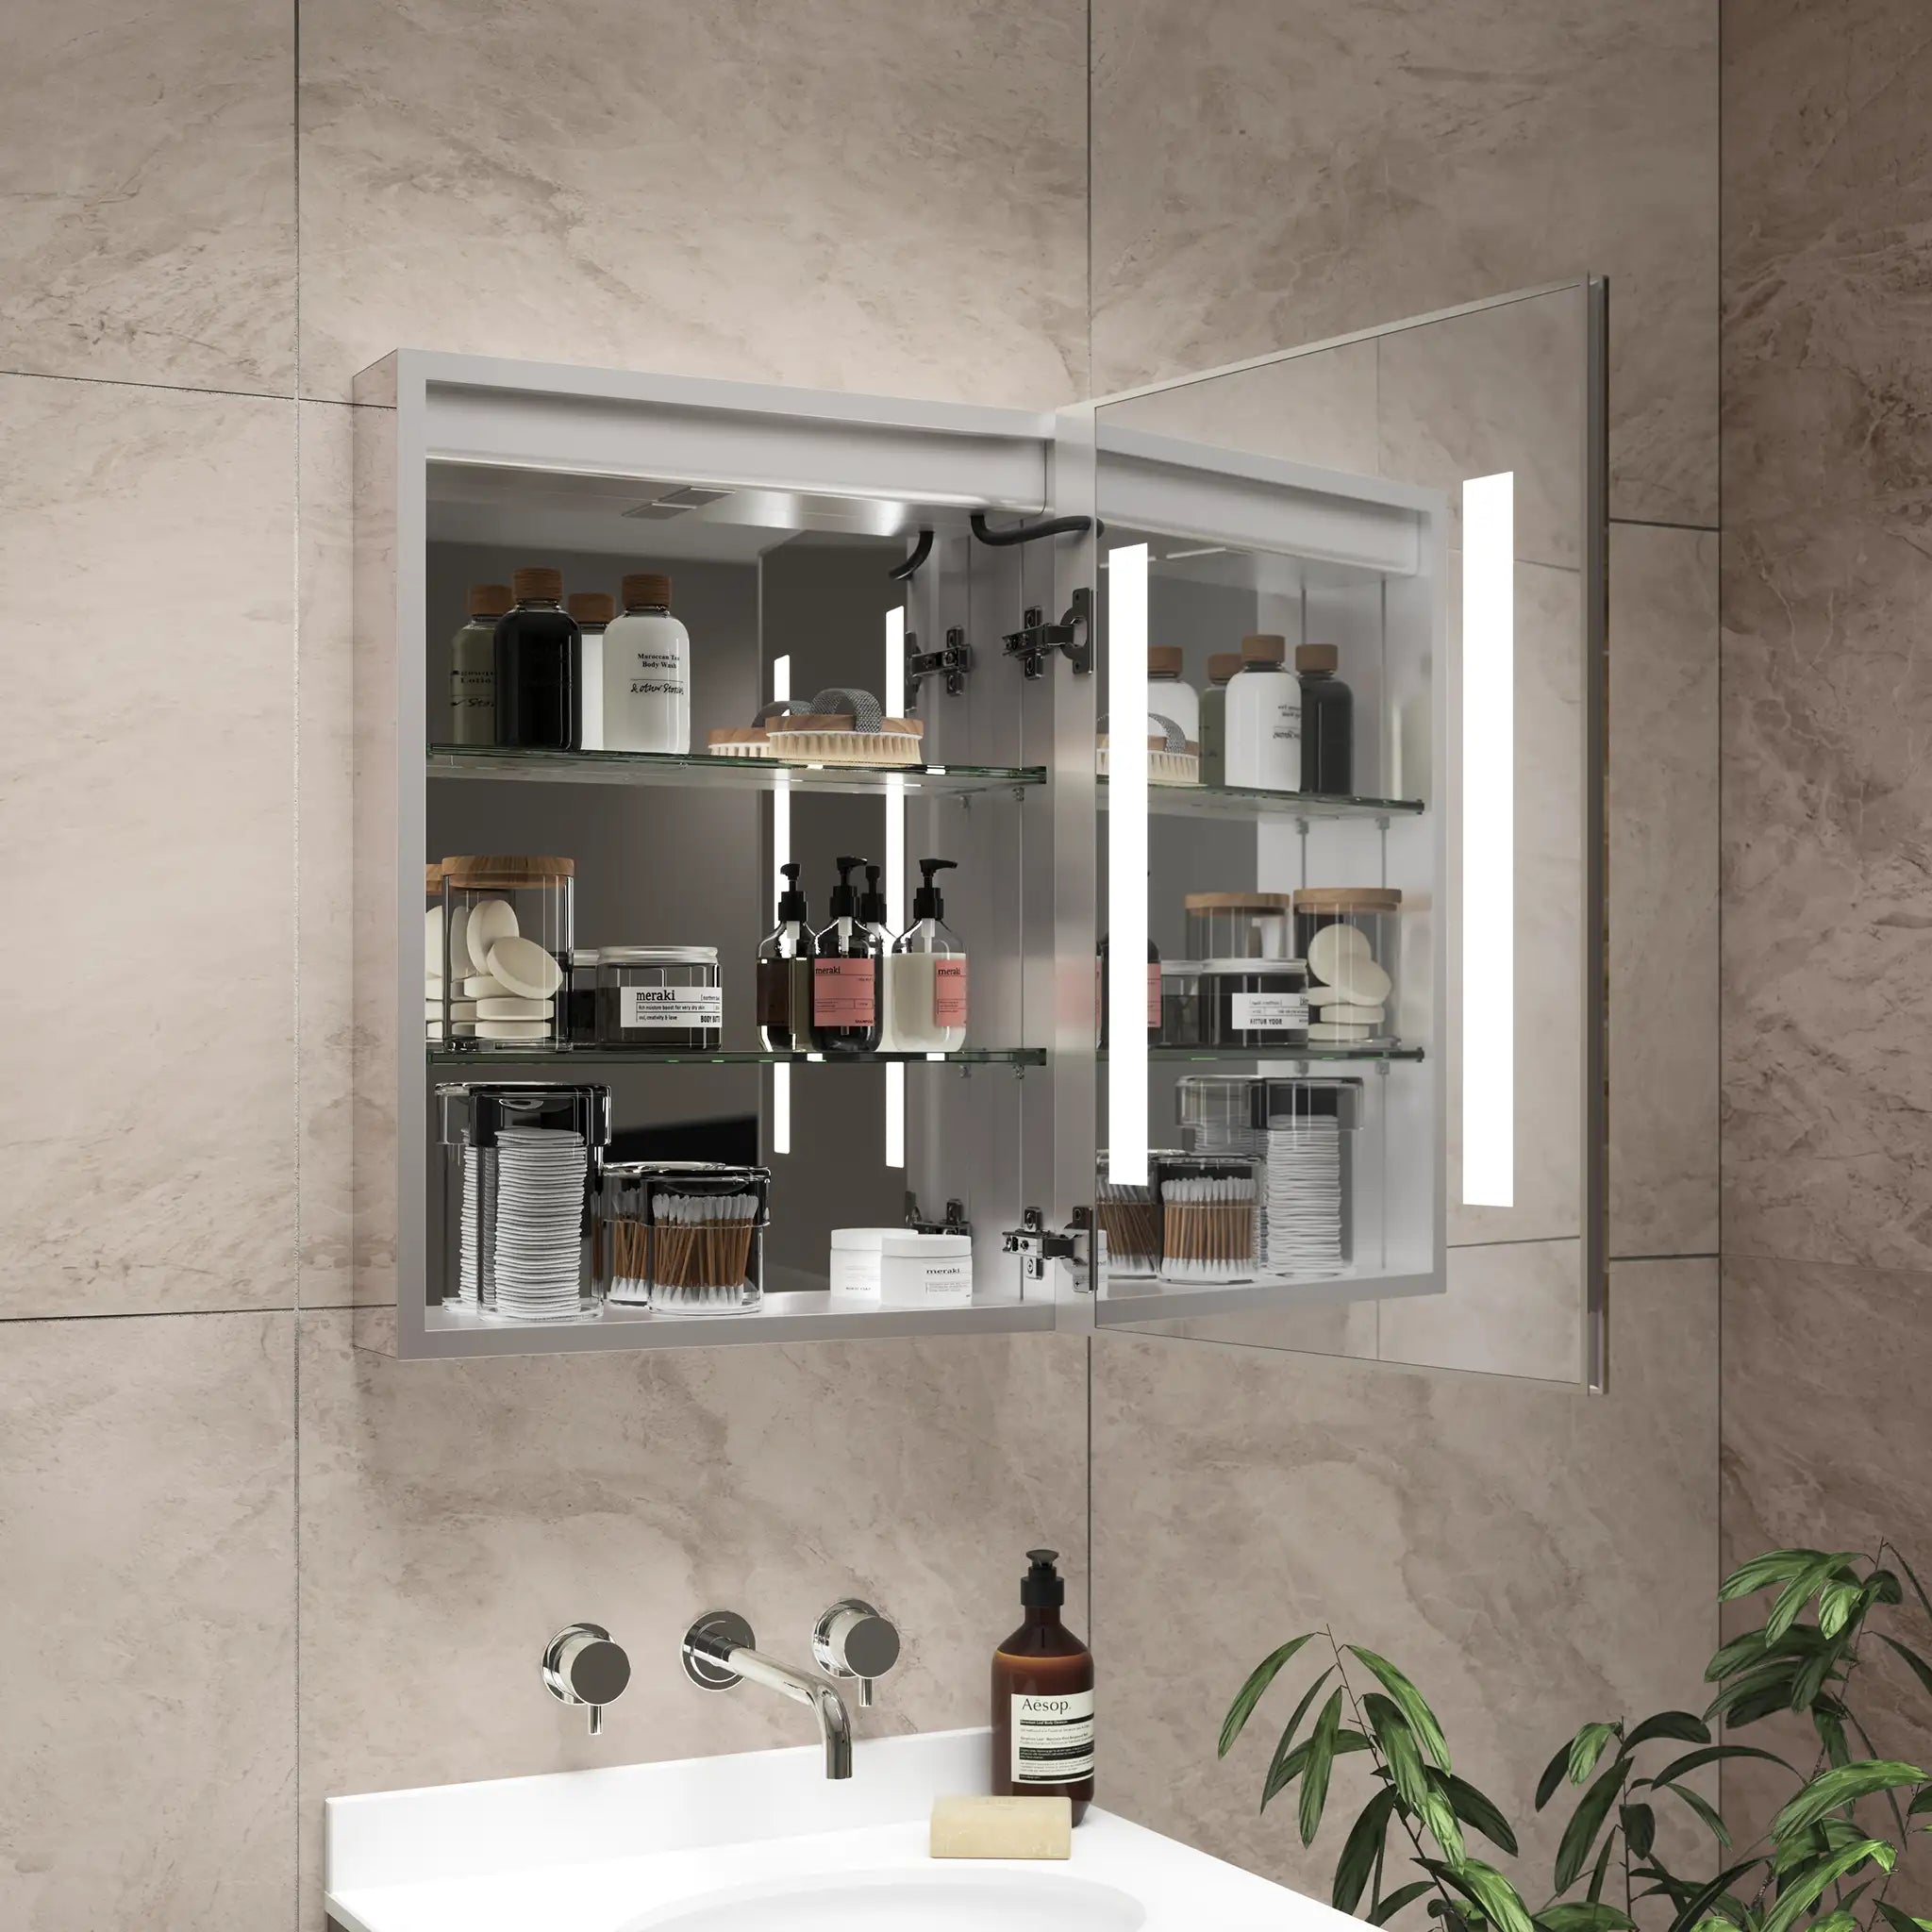


Thankyou for purchasing a Pebble Grey mirror. Don't worry if you are new to hanging mirrors - here you will find the necessary steps for appropriately installing your unit. Depending on the Pebble Grey product you have chosen, there are two main mounting methods in use to hang a bathroom mirror: keyhole or back box. Typically, the mirrors with added features utilise the back box installation method, which allows all components to be easily housed.
STEP 1: Preparation
Gather the equipment you'll need to install your bathroom mirror
We recommend your product is installed by a competent qualified electrician. This is to ensure safety precautions are observed, and that the work is certified and completed in line with UK building regulations.
As soon as you receive your mirror please unpack and check that your product and all contents are included before you install your mirror in the bathroom. Carefully lift the mirror and lay it on a soft, flat surface to avoid any damage.
Prior to installation, check your chosen mirror’s installation guide, which will include the location of the mains cable and hanging points, and whether it can be mounted portrait or landscape.
All Pebble Grey mirrors come in one single box, so all your components will be together.
All our items are of a fragile nature which is why we package all our items professionally with heavy-duty boxes and padding to help securely transport your item(s).
Decide where to put your mirror
Ensure the electrical supply has been turned off carrying out any remedial works.
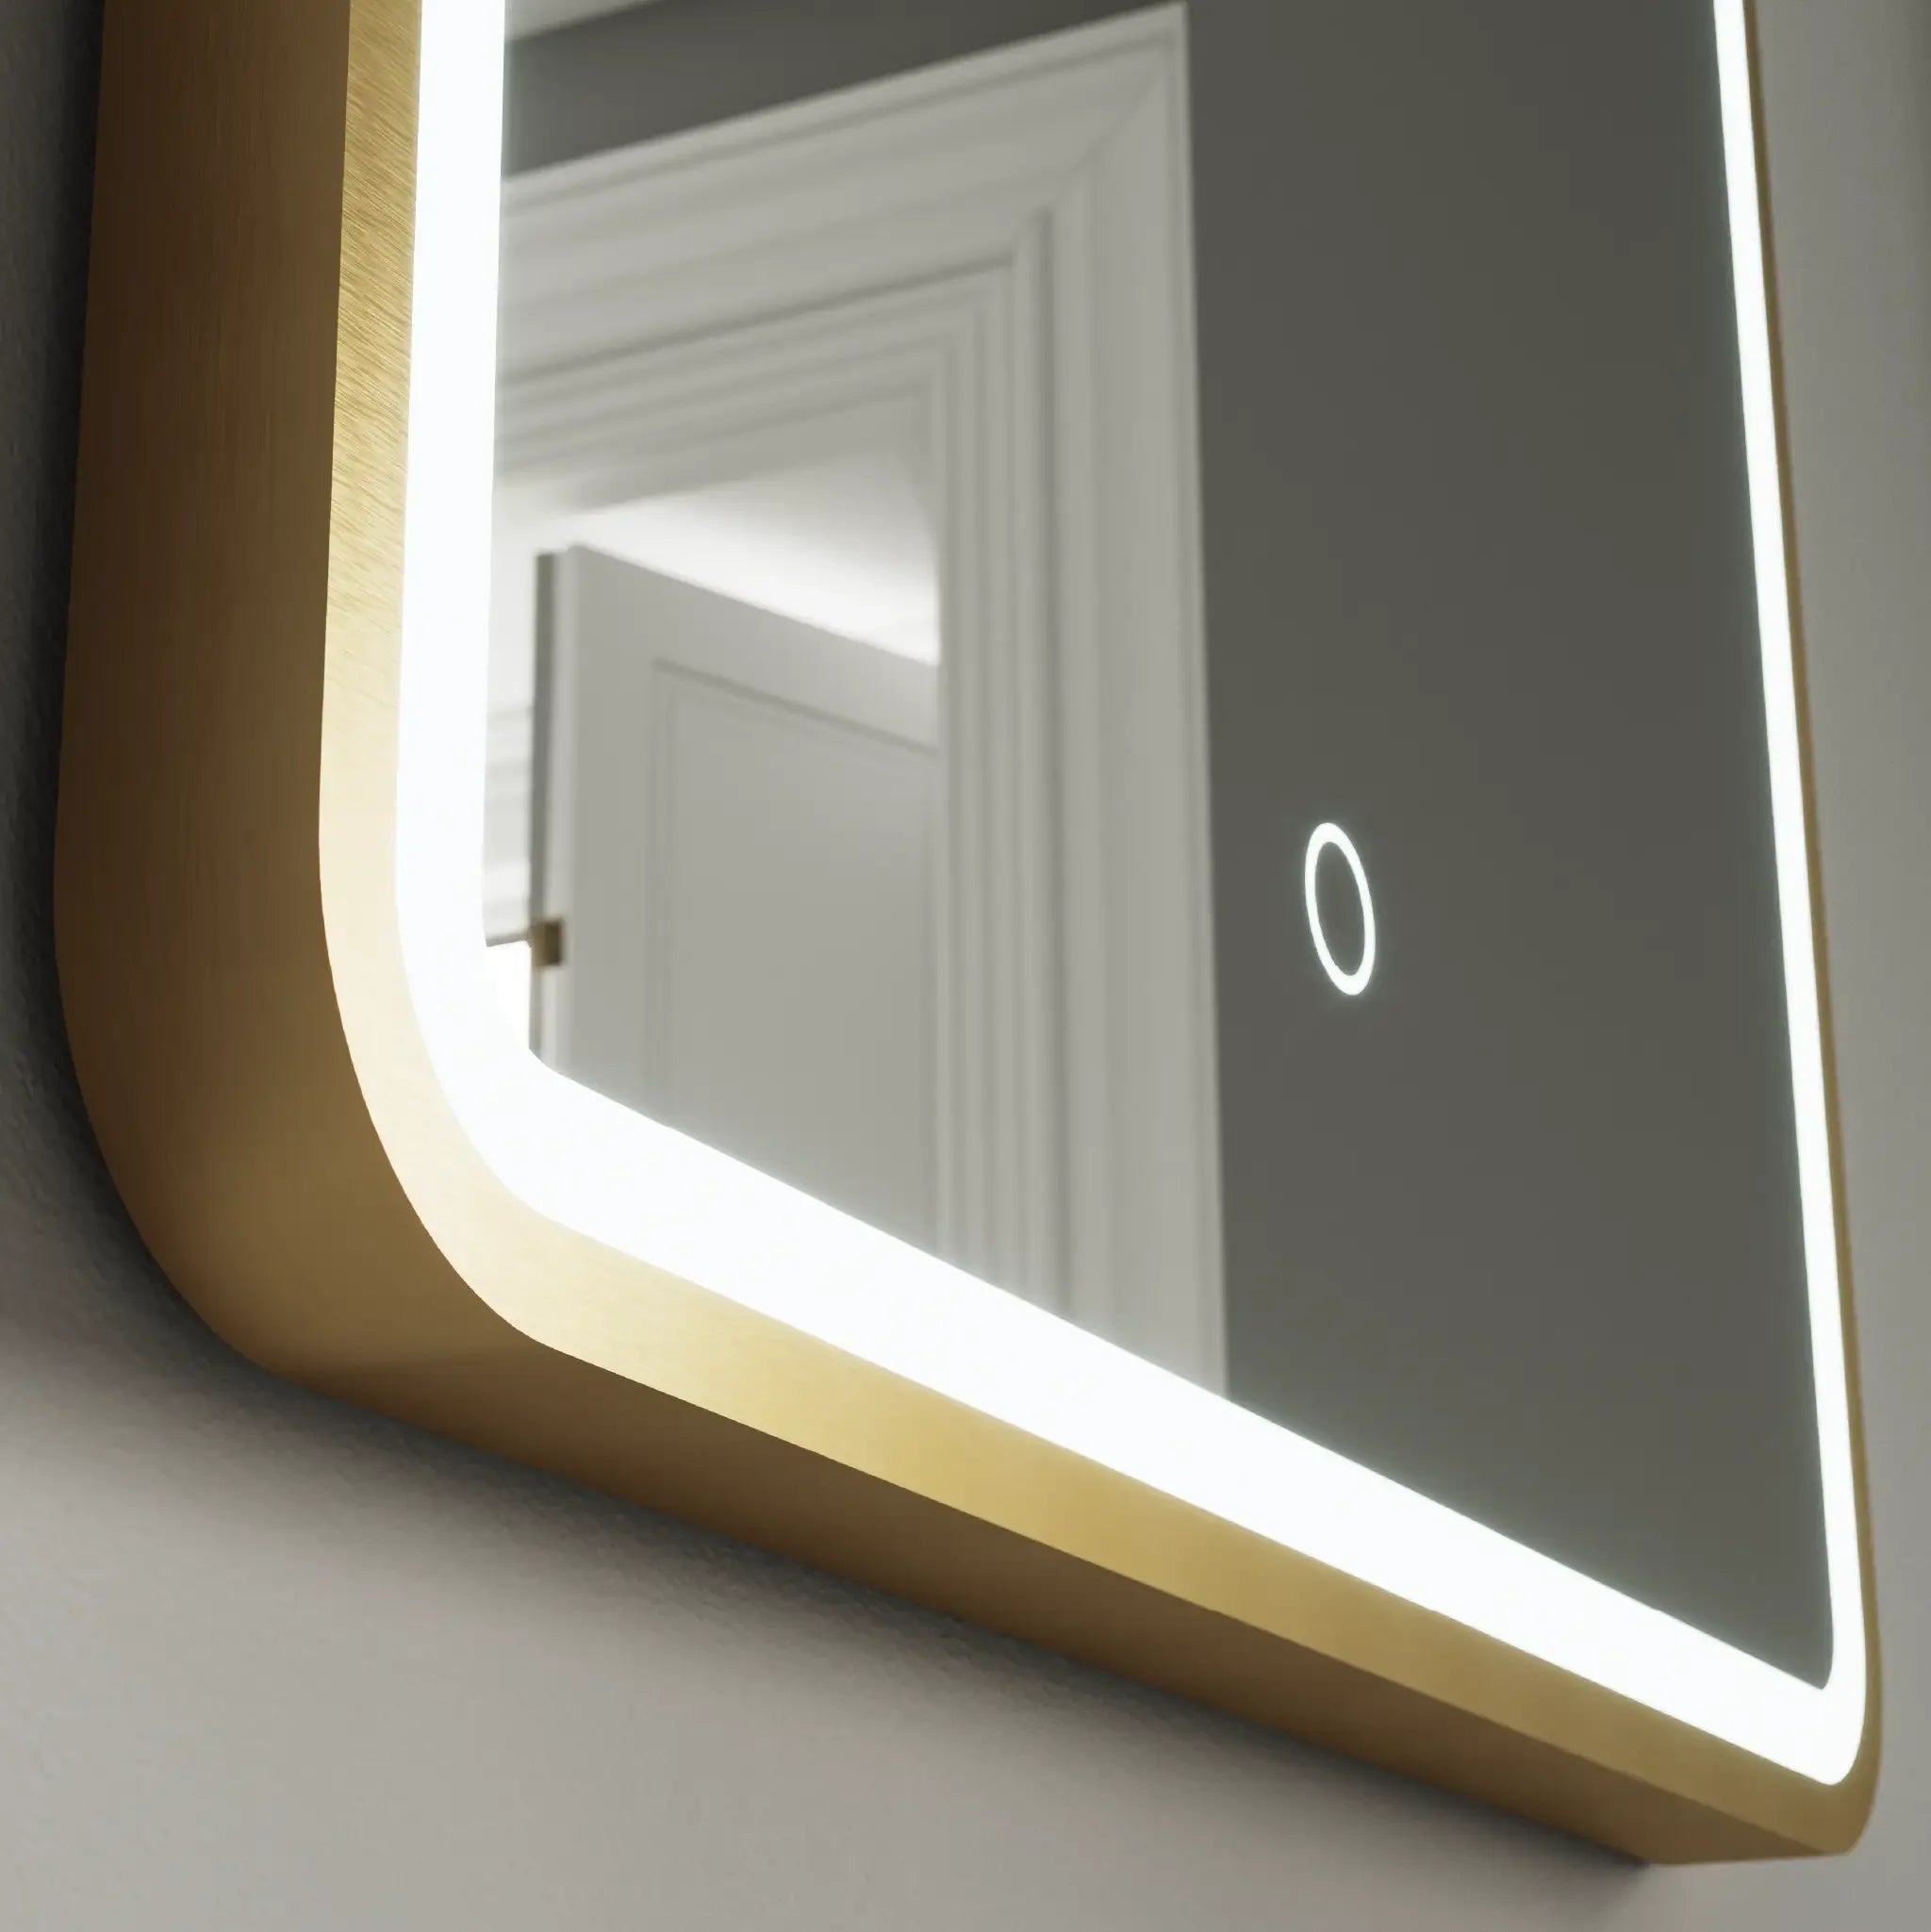
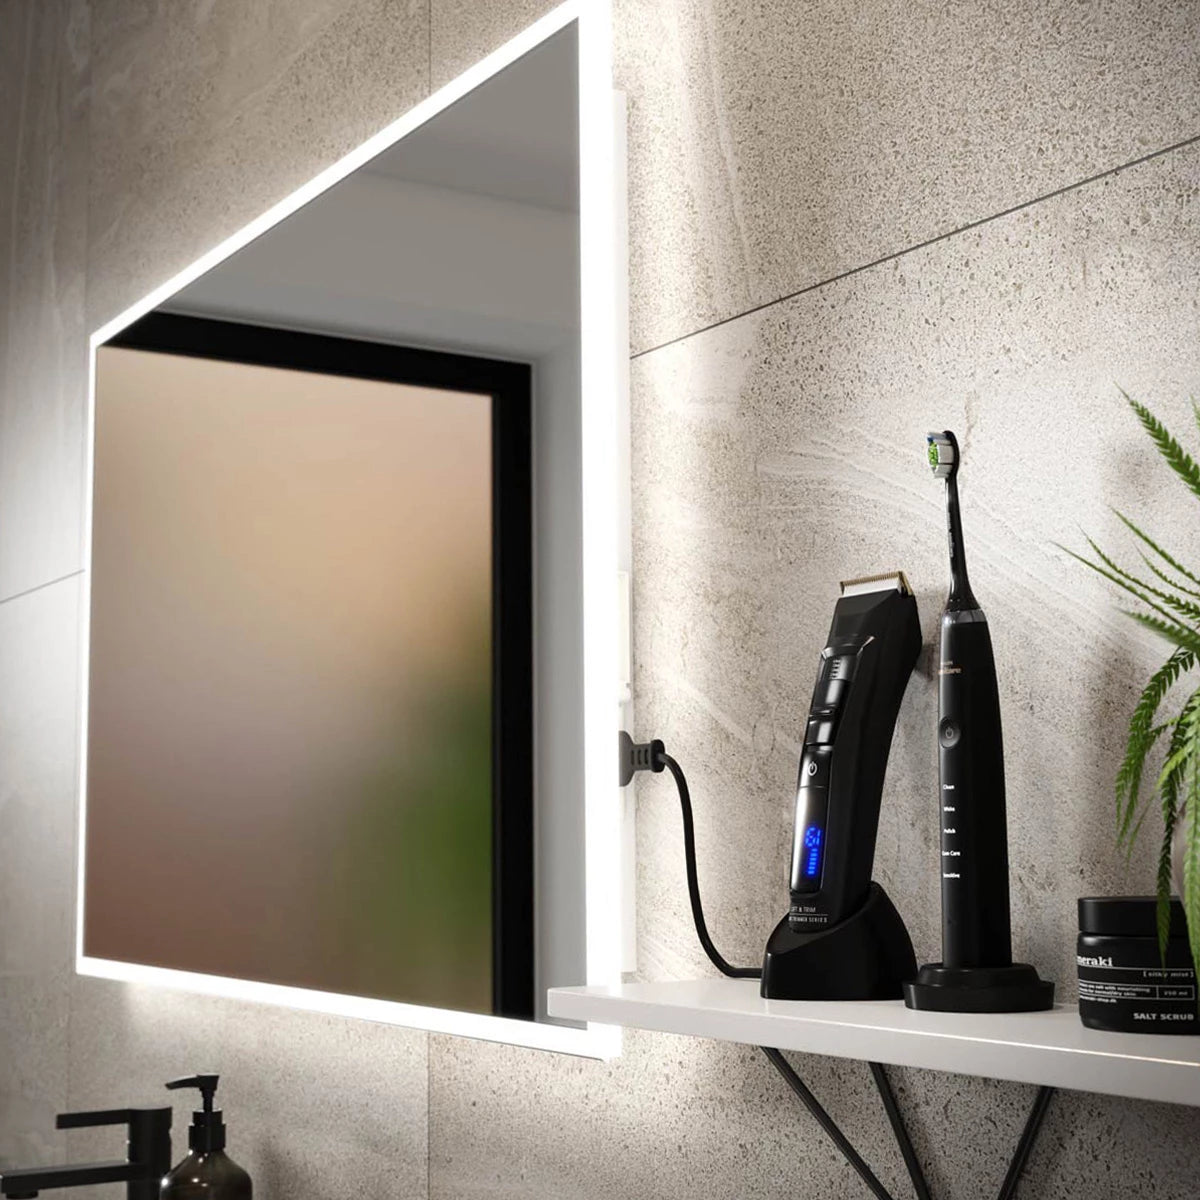
To help decide on the location of your new mirror, you’ll need to know what switch is fitted to your product. If the mirror is controlled by an infra-red motion sensor, it is a requirement that there is a minimum of 150mm clearance between the edge of the mirror and any other object (including tile trims) to ensure that no reflections interfere with the infra-red technology.
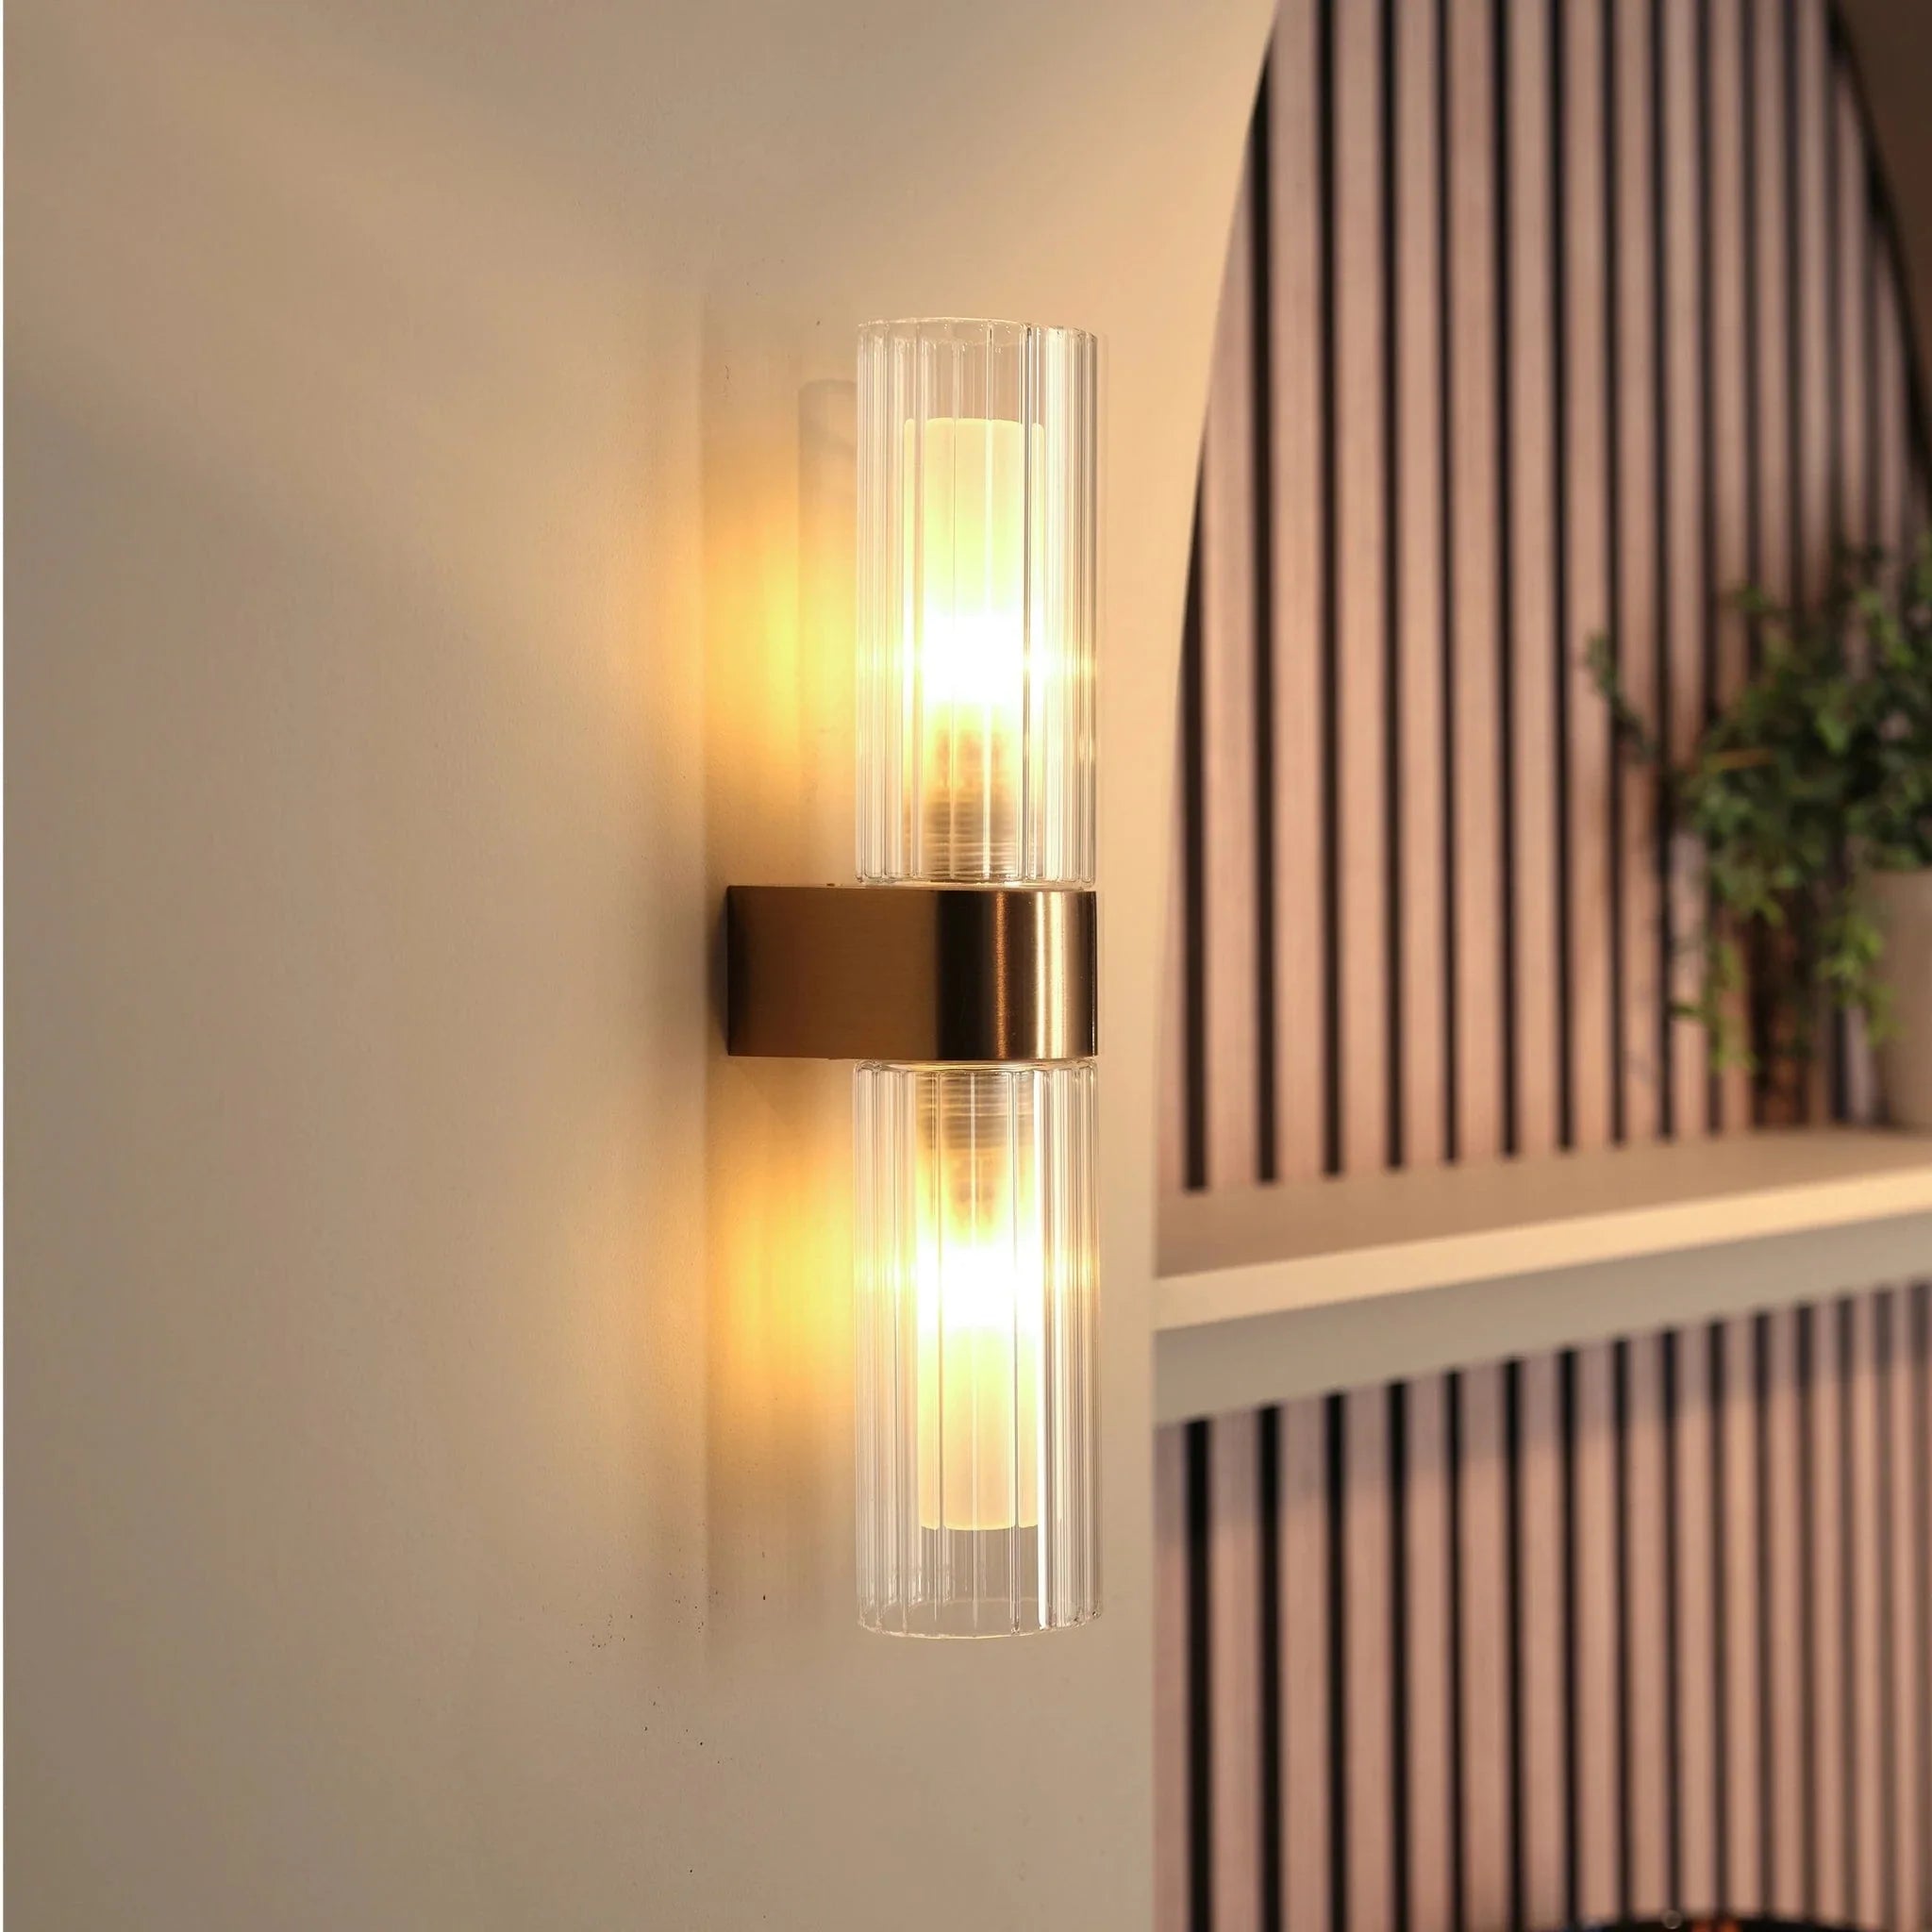
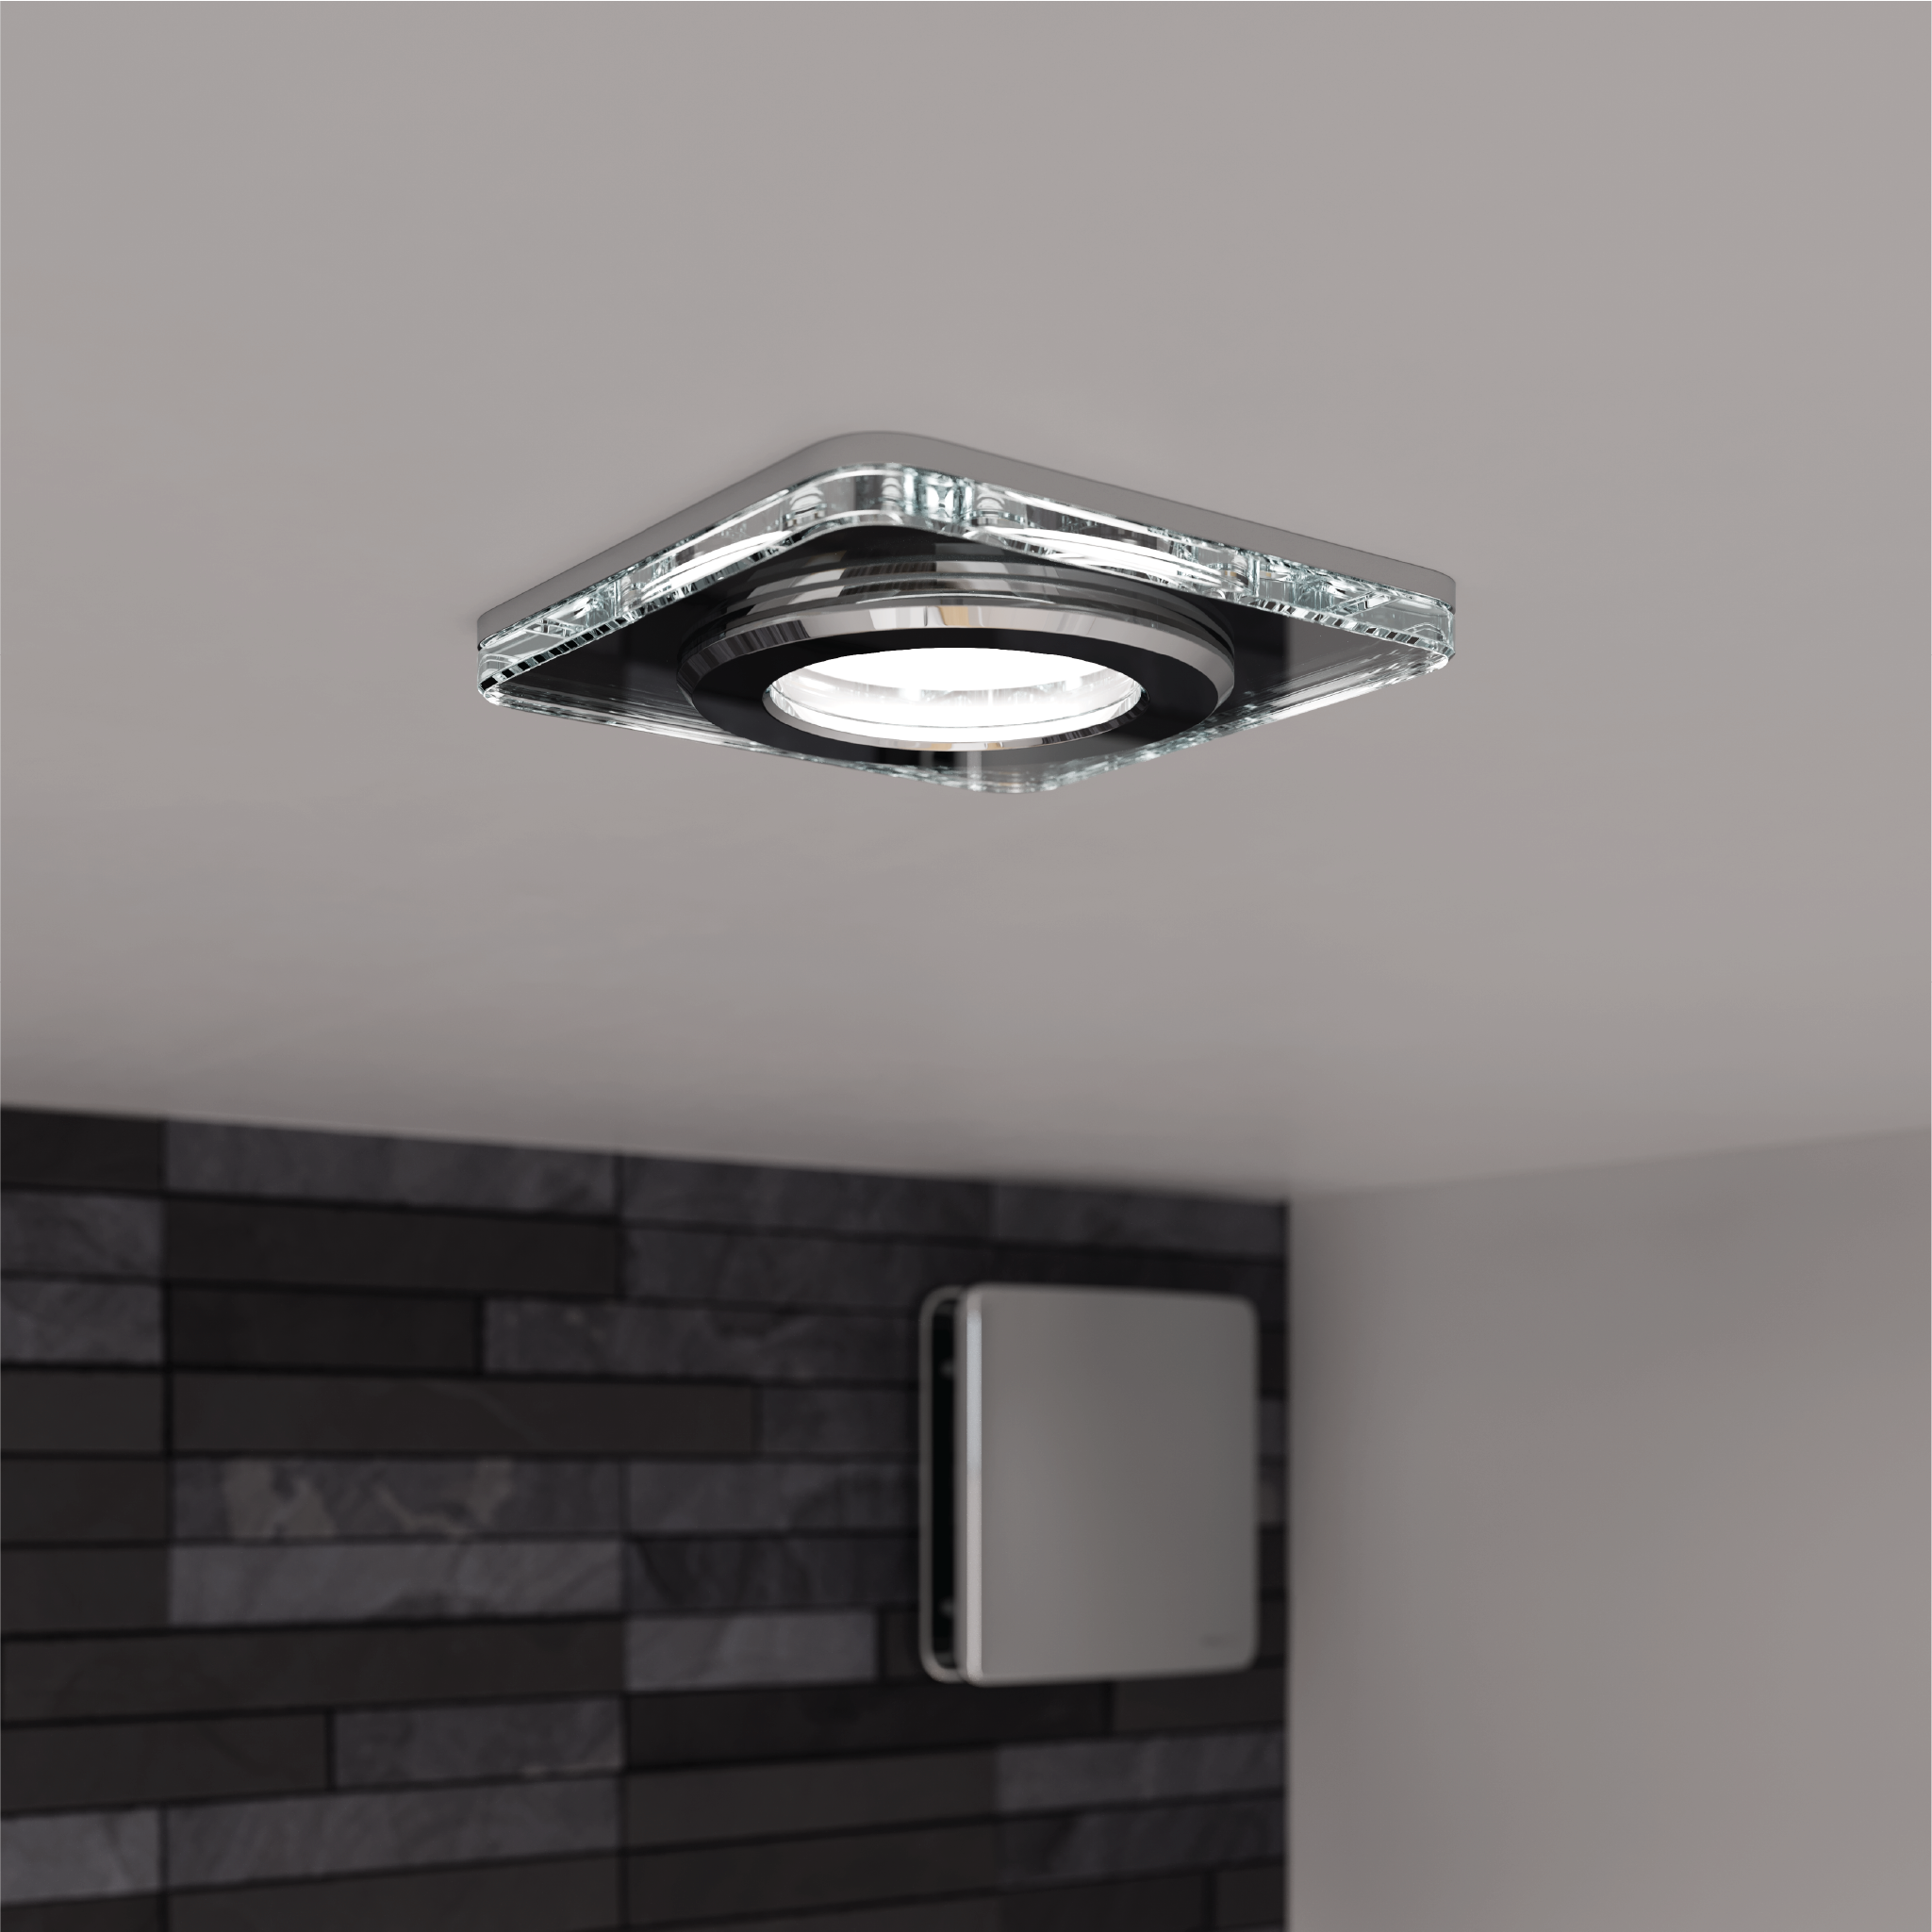
A quality stud/cable detector can also be used for checking what else is behind the wall you plan to install your mirror, to check for pipes, cables, and any other fixings. If your mirror features LEDs, it must be installed in zone 2 or 3 of your bathroom only. The mirror cannot be installed in zone 1 (this includes above a bath, shower, or in a shower cubicle). Non-illuminated mirrors can be installed in any zone, as there are no electrical components.
If you are choosing to mount the mirror onto tiles, a tile drill bit is required, and use masking tape to ensure no cracks form when doing this.
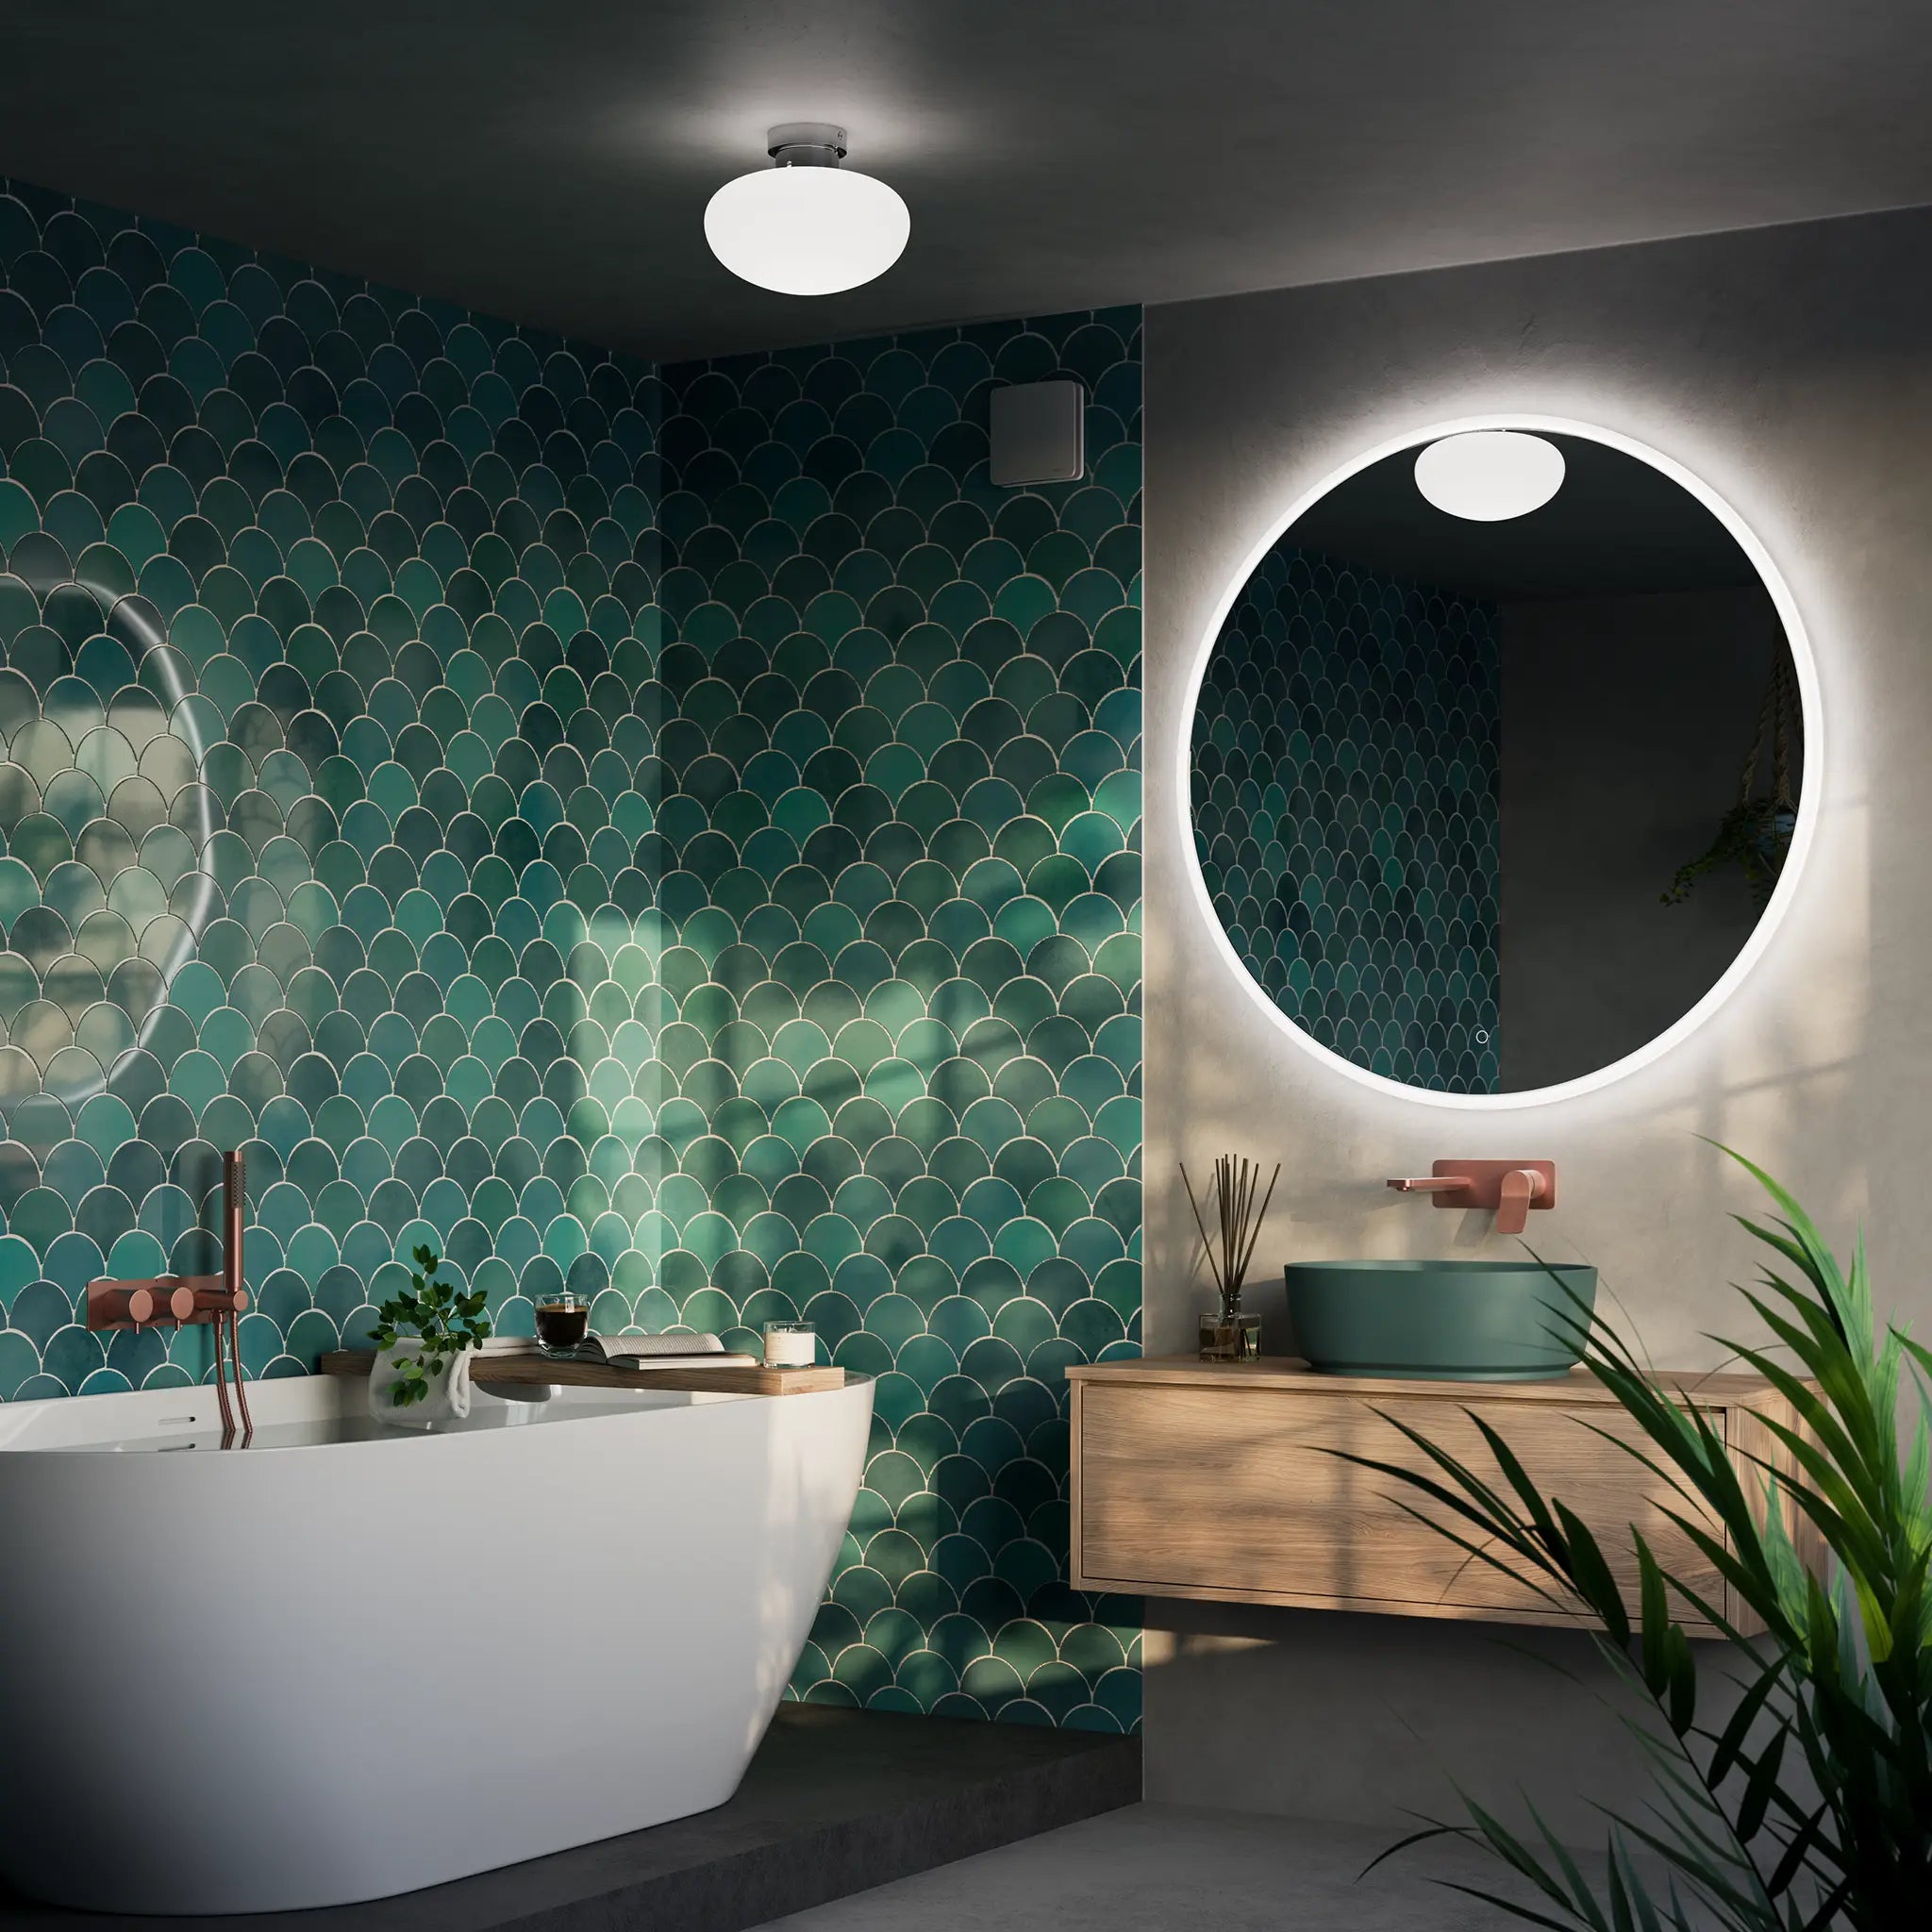
For guidance on the appropriate height of your mirror against a vanity or sink, please see https://pebblegrey.co.uk/blog/high-hang-bathroom-mirror
Check the mirror is in working order
Should you wish to test your item before installing it, wiring it onto a 3-pin plug with a 13A fuse will allow you to test all functionality. The wattage of each mirror is featured in the installation guide.
If you have any questions on receipt of your item, please visit our support page, contact us via email or on LiveChat.
STEP 2: Installing Your Mirror
You will need:
- Spirit level
- Tape measure
- Pencil
- Drill & drill bits
- Screwdriver
- Masking tape (optional)
Mark and drill the mounting holes
Ensure you accurately measure the distance between the mirror mounting holes/points. Mark the required fixing points on the wall with a pencil and use a spirit level to check that your mirror will be hung straight. Using a drill, create the holes in the wall ready to receive the mounting hardware.
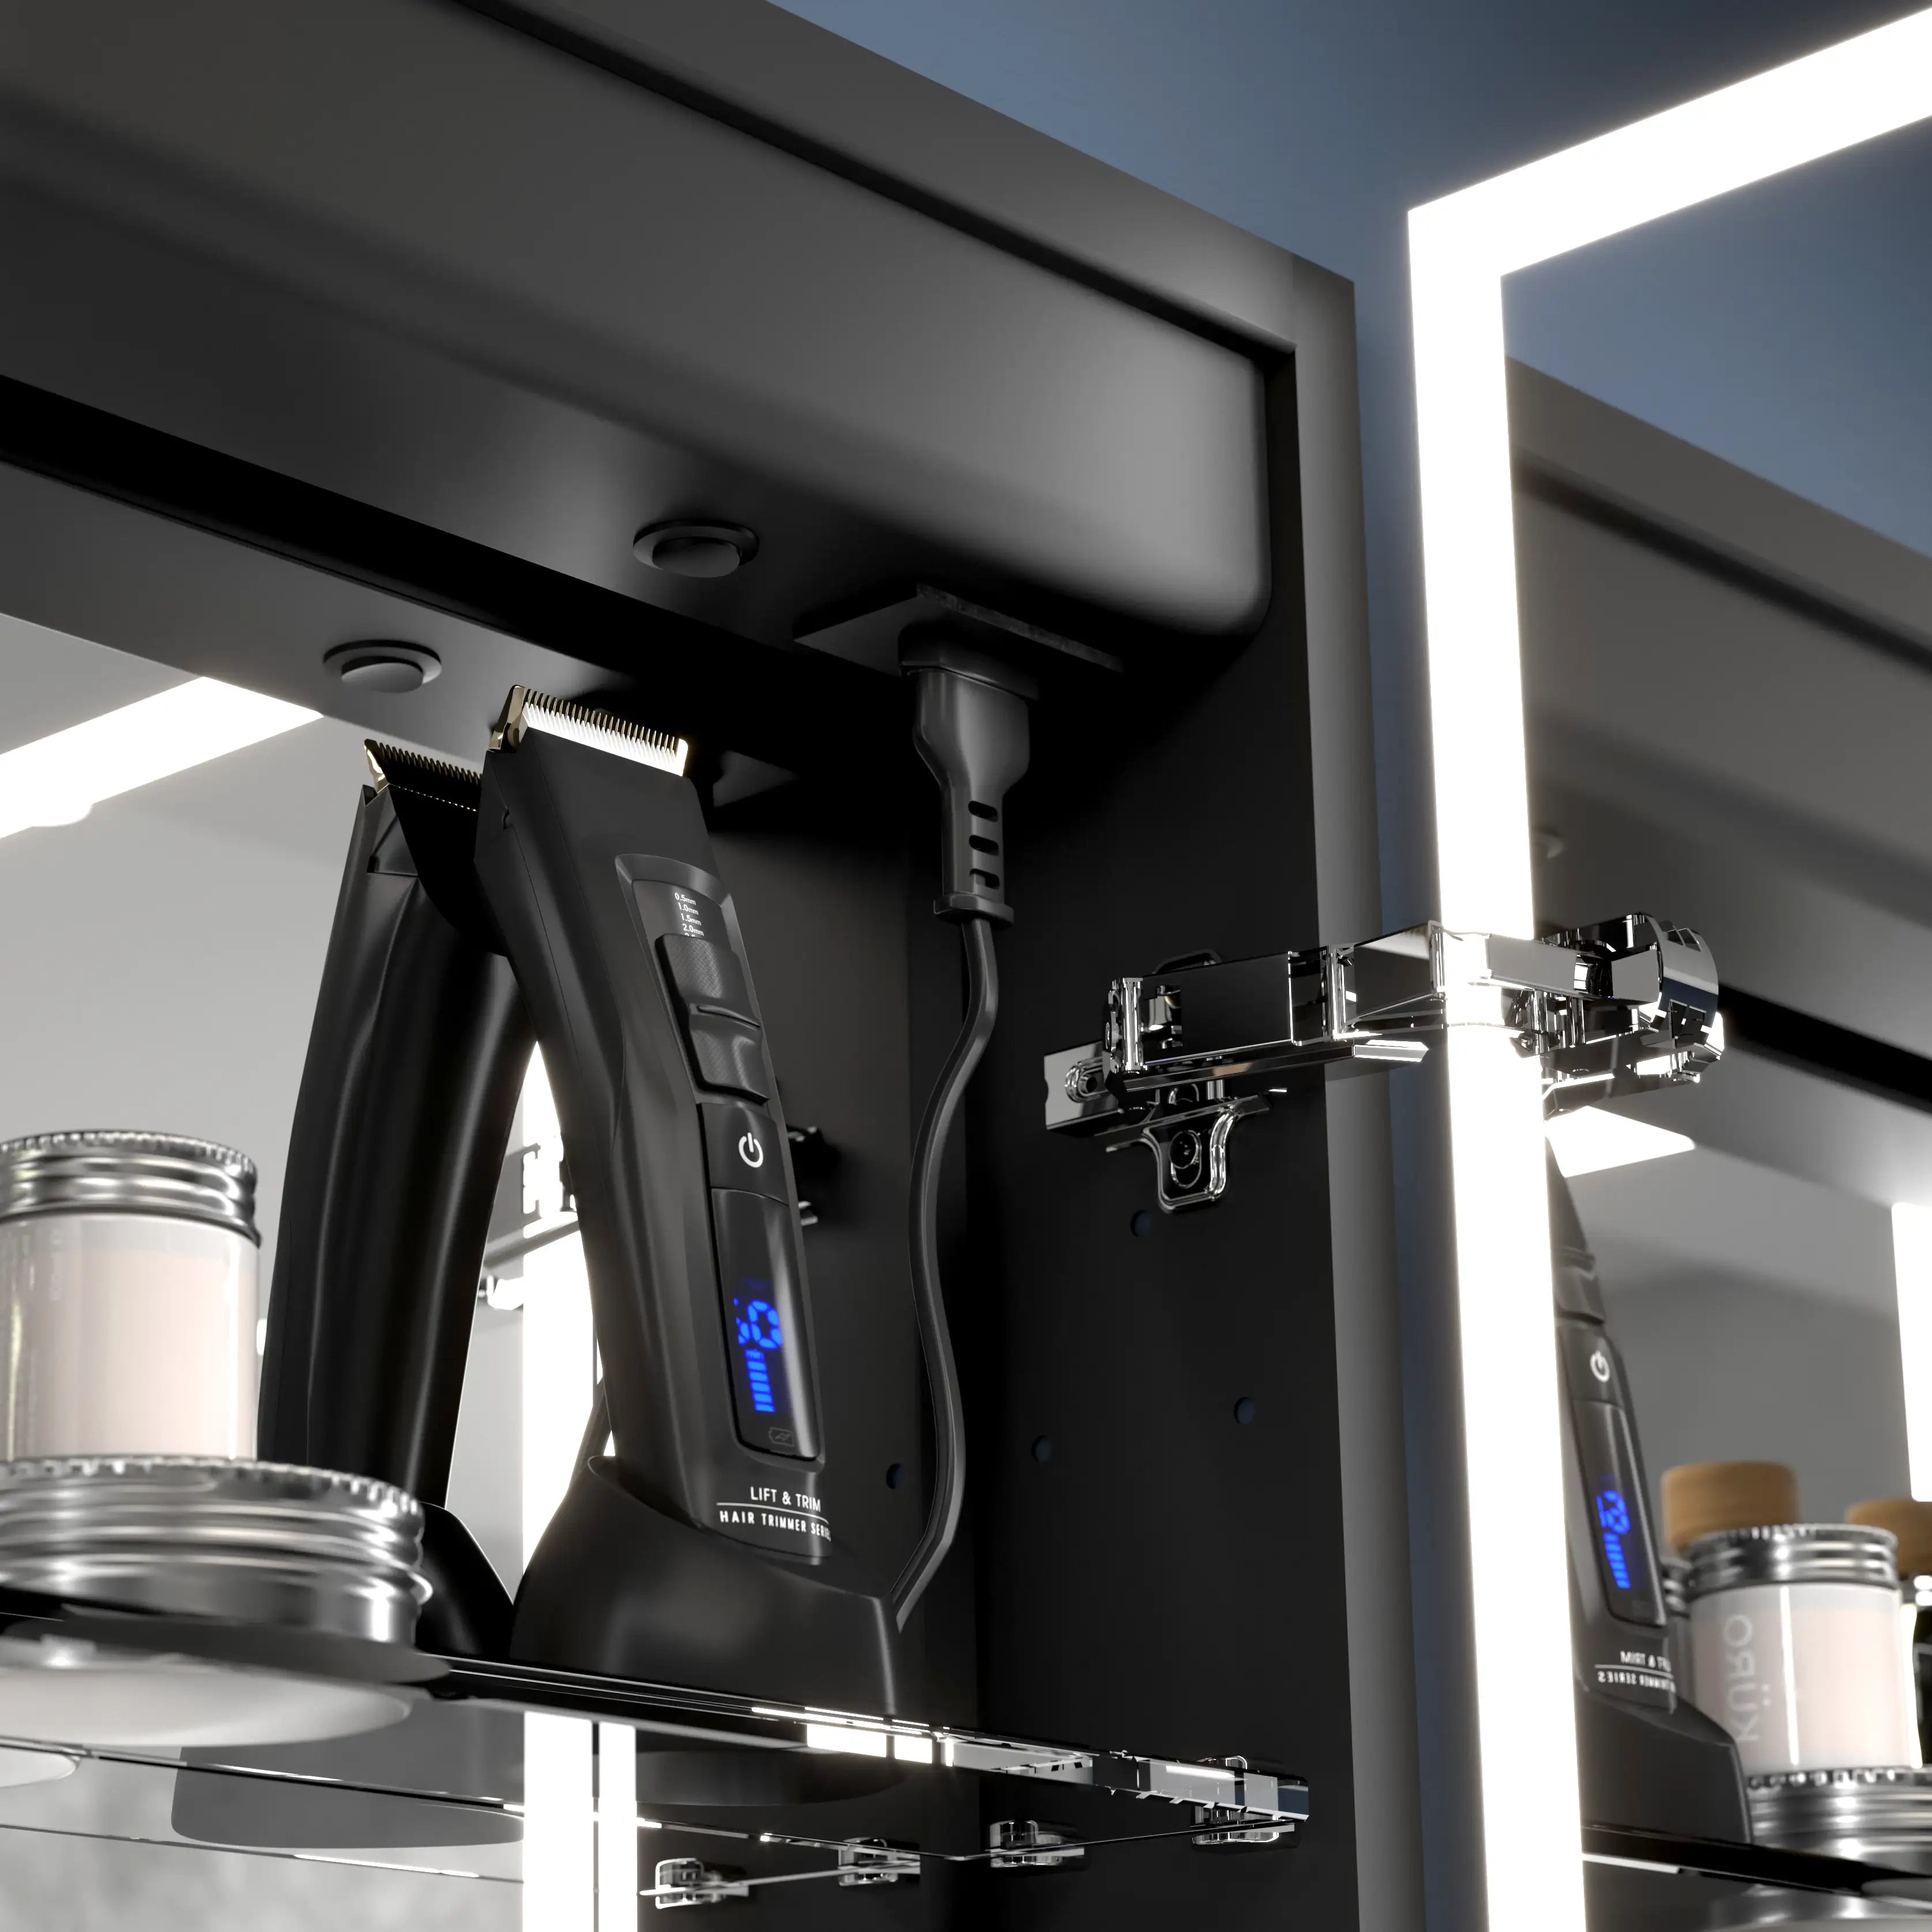
If fixing onto a solid wall, ensure there is an electrical connecting point for your mirror to connect to. Your electrician will be able to walk you through this process, but it may require going up through the floor or down through the ceiling if there is no existing connection point in the wall for the cable to run through. The cables will then connect via a junction box or terminal block.
Mount the mirror
All the required wall plugs, and screws are included in your Pebble Grey mirror assuming you’re mounting to a solid wall. If mounting onto plasterboard (drywall), you will need to purchase plasterboard fixings, which are available at most reputable DIY shops.
If your product is mounted via the keyhole fixing method, secure the wall plug and then the screw, leaving the head protruding by 3mm. Connect the mains power cable in accordance with the latest IEE regulations (refer to the installation guide in your unit for full instructions). Once the product is connected, hang the mirror onto the fixed screws to complete the installation.
If your product is mounted via the back box fixing method, mount the back box onto the wall where you previously drilled mounting holes. Connect the mains power cable in accordance with the latest IEE regulations (refer to the installation guide in your unit for full instructions). Connect the cables for the demister and lights if required, then secure the mirror glass onto the back box tightly with the screws provided, completing installation.
If you have any questions on the installation of your product, please consult the specific installation guide of their chosen product, which can be found in the box the unit comes in, to check if there are any further steps needed.